When I was little I loved staying the night at my Grandma Schader's house. It was a treat; something I didn't get to do all the time. She always had something new to show me, tell me about or teach me. And Grandpa Schader always had something cool going on in his shop (he taught me how to make bullets). She taught me how to make home made bread, plum jelly and pickles when I was barely tall enough to see over the counter. Their house was like Wonderland to me. Still is in so many ways.
I LOVED her sweet pickles. I hate dill pickles to this day. She ruined me. I tasted Heaven and there was no going back. My favorite Saturday morning breakfast was Dr. Pepper and a bowl of her pickles. I'm weird. I know this... You should embrace it as well.
So, when Christy (my official yogurt taste tester) offered me 2 Wal-Mart sacks full of zucchini from her garden, I knew what had to be done.
SWEET PICKLE TIME, baby! After speaking with Grandma, she gave the okay for me to publish her recipe. Well, it wasn't her recipe to begin with, it was given to her by a friend. Grandma then shared it with her mother, who tweaked it until it became what it is today. [Heaven in a jar...]
Making pickles is a time consuming process.
DIY, crafts, recipes, frugal tips and home decor. One girl's journey to a simpler, happier life...while still taking time to be FABULOUS!
Showing posts with label Canning. Show all posts
Tuesday, June 28, 2011
Wednesday, June 22, 2011
Pressure Canning Gets a Bad Wrap
I told Courtney I was going to pressure can, and she said I was nuts. She had a bad canning experience, and it ruined her toward it. I however, didn't think it was bad at all.
Aunt Karen picked her green bean bushes again and we had about 7 quarts.
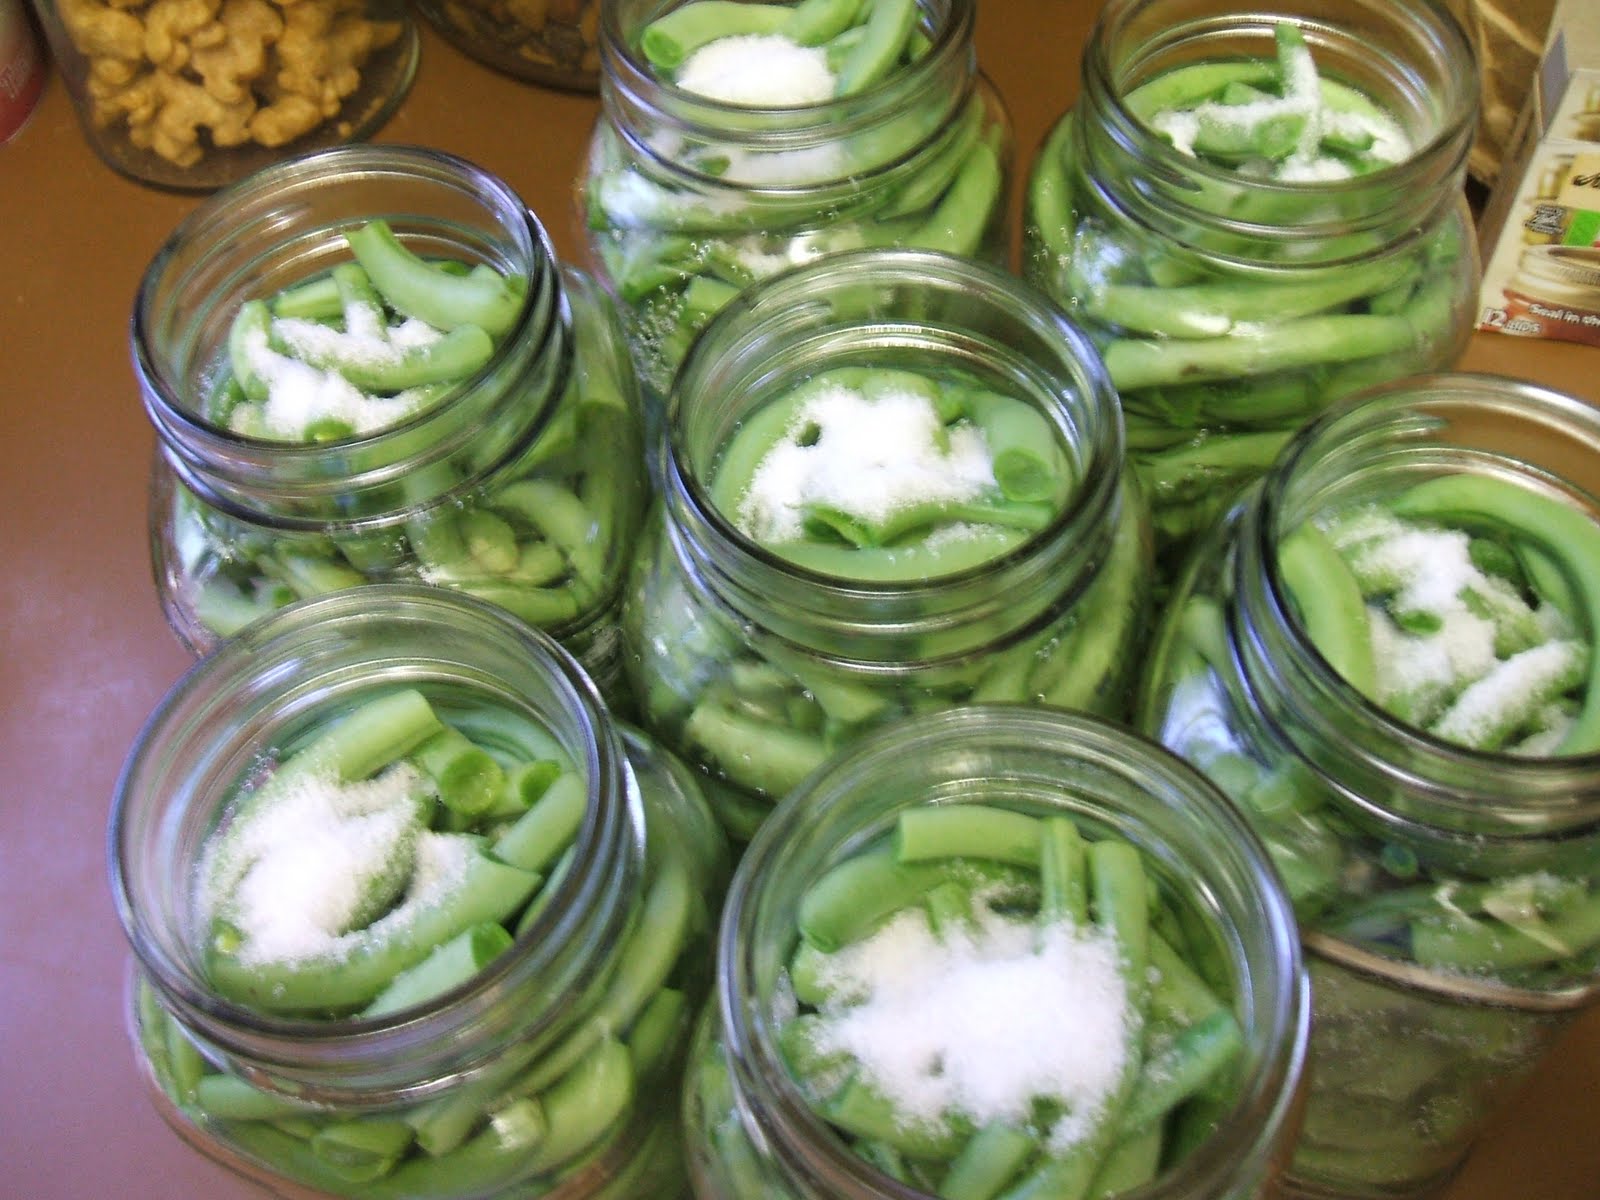
We washed the beans and snapped them so they were ready to go. Packed them into jars and added a teaspoon of canning salt (this is different than regular salt, so be sure you get the right stuff) to each jar.
While we were packing the jars, we put the flats/lids in a small pot with water to warm. This allows the rubber to get nice and soft so it'll make a good seal against the glass rim of the jar. We also put a pot of water on to boil for pouring into the green bean jars.
Once the jars were packed, we put the recommended amount of water into the pressure canner and turned on the heat. Follow the instructions that came with your pressure canner for the proper amount of water.
Pour boiling water into each jar of green beans leaving a quarter inch of head space.
Remove flats/lids from the water they were warming in and top each jar. Place a ring on each jar and finger tighten.
Load your jars into the pressure canner and tighten the lid.
Once the lid is on and locked, keep heat on medium/high until you have a steady stream of steam coming out of the valve. Once achieved, cap the valve. Follow the manufacturer's instructions on how many pounds of pressure are needed. We cooked ours at 10lbs for 25 minutes.
Grab a glass of sweet tea and enjoy the company of your canning instructor, but keep an eye on the pressure gauge.
Once they're done cooking, turn off the heat and allow the pressure to come down. Once you're down to 2lbs of pressure, remove the valve and then remove the lid.
Using a jar lifter, carefully remove each jar and set on a heat resistant surface to cool.
Listen for the POP of your lids over the next few hours as your jars seal. It's a wonderful sound!
Aunt Karen picked her green bean bushes again and we had about 7 quarts.
We washed the beans and snapped them so they were ready to go. Packed them into jars and added a teaspoon of canning salt (this is different than regular salt, so be sure you get the right stuff) to each jar.
While we were packing the jars, we put the flats/lids in a small pot with water to warm. This allows the rubber to get nice and soft so it'll make a good seal against the glass rim of the jar. We also put a pot of water on to boil for pouring into the green bean jars.
Once the jars were packed, we put the recommended amount of water into the pressure canner and turned on the heat. Follow the instructions that came with your pressure canner for the proper amount of water.
Pour boiling water into each jar of green beans leaving a quarter inch of head space.
Remove flats/lids from the water they were warming in and top each jar. Place a ring on each jar and finger tighten.
Load your jars into the pressure canner and tighten the lid.
Once the lid is on and locked, keep heat on medium/high until you have a steady stream of steam coming out of the valve. Once achieved, cap the valve. Follow the manufacturer's instructions on how many pounds of pressure are needed. We cooked ours at 10lbs for 25 minutes.
Grab a glass of sweet tea and enjoy the company of your canning instructor, but keep an eye on the pressure gauge.
Once they're done cooking, turn off the heat and allow the pressure to come down. Once you're down to 2lbs of pressure, remove the valve and then remove the lid.
Using a jar lifter, carefully remove each jar and set on a heat resistant surface to cool.
Listen for the POP of your lids over the next few hours as your jars seal. It's a wonderful sound!
Saturday, June 11, 2011
Candied Lime Jalapenos
I religiously follow Handjobs for the Home, and when AJ posted a recipe for Candied Lime Jalapenos, I knew I had to try it.
Word of caution...these are SPICY, but quite tasty.
Aren't they pretty!? I love that some of them are that fabulous orange color.
These are sliced jalapenos in a syrup...not a pepper jelly. However, it does have a similar flavor, but with a heck of an after burn. And I left OUT the cayenne!
I have way more of these than my stomach is going to tolerate me eating, so give me a shout if you'd like a jar. They're fabulous on a cracker with a lil bit of cream cheese. YUM!
Word of caution...these are SPICY, but quite tasty.
Aren't they pretty!? I love that some of them are that fabulous orange color.
These are sliced jalapenos in a syrup...not a pepper jelly. However, it does have a similar flavor, but with a heck of an after burn. And I left OUT the cayenne!
I have way more of these than my stomach is going to tolerate me eating, so give me a shout if you'd like a jar. They're fabulous on a cracker with a lil bit of cream cheese. YUM!
Candied Lime Jalapenos
{stolen from AJ @ Handjobs for the Home, who Adapted it from Serious Eats }
Makes 3, 8 oz jars (It only produced about 16 ounces for me)
What You’ll Need:
1 lb jalapeno peppers
2/3 C cider vinegar
2 C sugar
1/2 tsp cayenne
Zest and juice from 2 limes.
Slice jalapenos into 1/4 inch thick slices.
Combine the vinegar, sugar, cayenne, and lime juice in a pot and bring to a boil. Once boiling, reduce heat to a simmer for 5 minutes until the liquid becomes somewhat syrupy. Add the jalapenos to the syrup and bring to a boil. Boil for 4 minutes or until the jalapenos become dark and soft.
Remove your jalapenos from the liquid and divide between sterilized canning jars with a slotted spoon. Bring syrup to a boil and boil for 5 minutes. Ladle hot liquid into canning jars, and screw lids on until finger tight.
Process in a hot water bath for 10 minutes and let rest for 12 hours on the counter.
(*I didn't water bath these, I just stuck 'em in the fridge once they were cool enough*)
Subscribe to:
Posts (Atom)